MySQL and Workbench setup in Ubuntu
In the process of setting up MySQL Workbench in Ubuntu I ran into some minor problems so here is the answer if you have the same.
Install MySQL with the following command
user@ubuntu:~$ sudo apt update
user@ubuntu:~$sudo apt install mysql-server
Install MySQL Workbench.
user@ubuntu:~$ sudo snap install mysql-workbench-community
This can take some time depending on your internet connection speed.
Once both the server and workbench are installed lets verify that MySQL is running
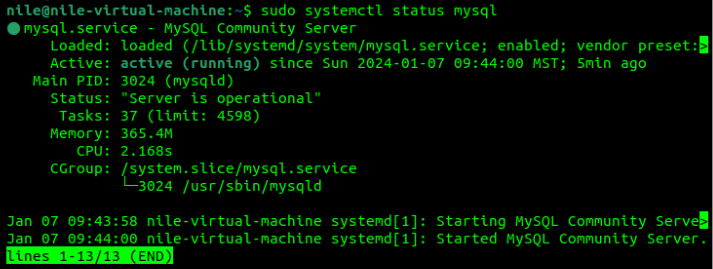
user@ubuntu:~$ sudo systemctl status mysql
We can see from my terminal that MySQL is “Active: active (running)”
If your terminal is showing anything other than active (running) restart the service with:
user@ubuntu:~$ sudo systemctl restart mysql
Once your have MySQL running open MySQL Workbench either from GUI or terminal.
user@ubuntu:~$ mysql-workbench-community
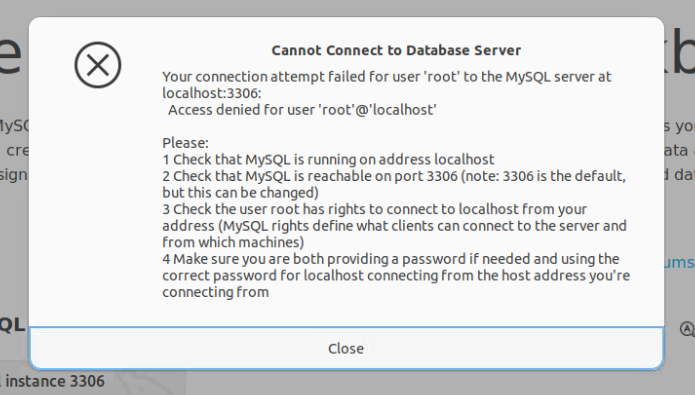
Click on Local instance 3306 and you get this error.
This is because the root user is not configured to authenticate with a password.
Close out of MySQL Workbench for now and open a terminal and run the following command.
user@ubuntu:~$ sudo mysql
Your command prompt should change to the MySQL prompt. Here you will be changing how the root user authenticates and gives root a password. Don’t forget this password. Use the following command:
mysql> ALTER USER ‘root’@’localhost’ IDENTIFIED WITH mysql_native_password BY ‘mysql_root_password’;
This is what your terminal should look with “mysql_root_password” being the password you want to use for the root user instead.
Now lets run the following command:
mysql> FLUSH PRIVILEGES;
and exit MySQL server
mysql> exit;
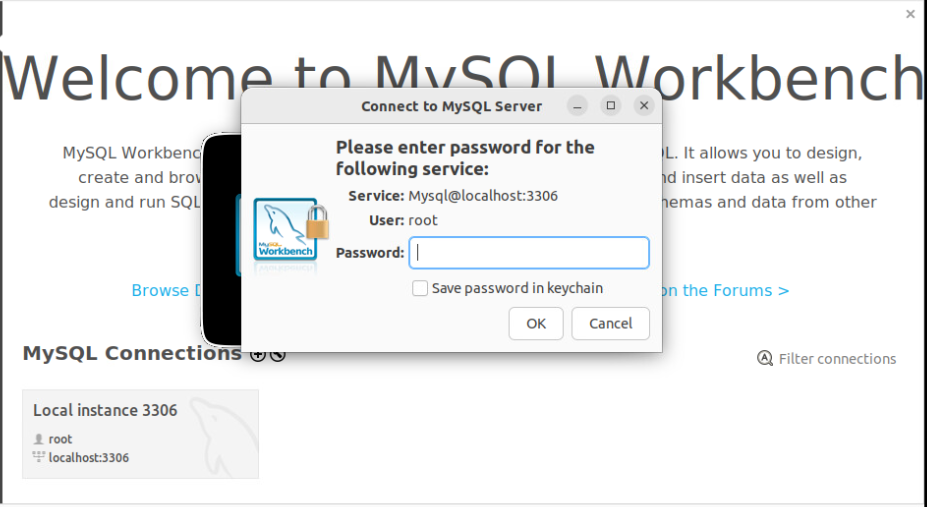
Now we can open MySQL Workbench again and click on Local instance 3306 and we are greeted with a password prompt.
This is where we will input the password we set in MySQL earlier.
You should now be connected to your local MySQL server!


