Creating a Windows 11 Virtual Machine in ESXi
Windows 11 can be installed on ESXi with a couple small modifications. Lets first start with making sure the VM configuration settings are correct.
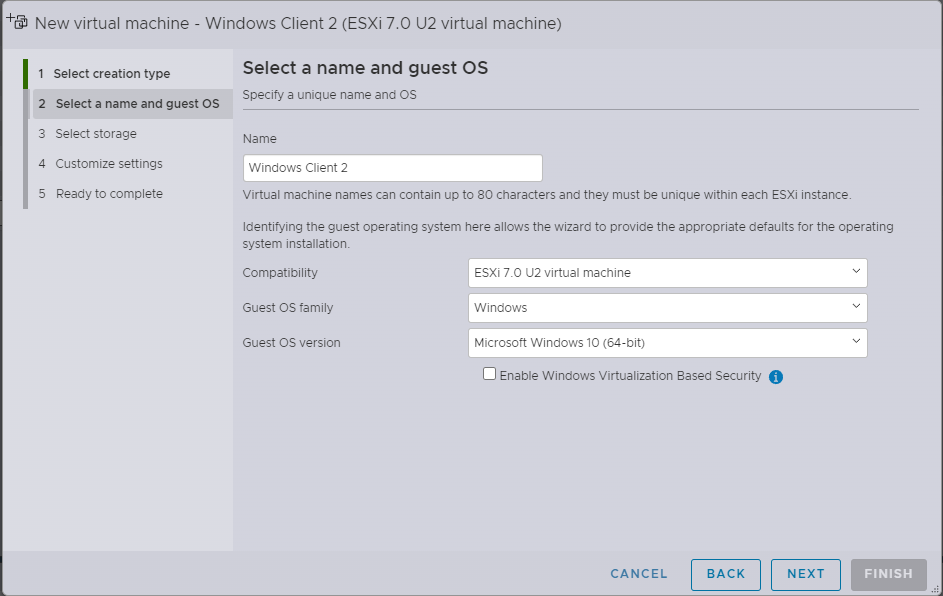
Start with creating a VM using the windows OS family and Microsoft Windows 10(64) as OS version.
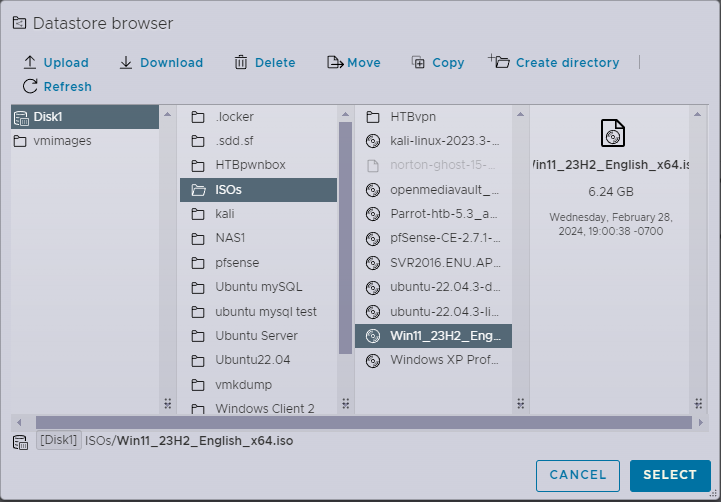
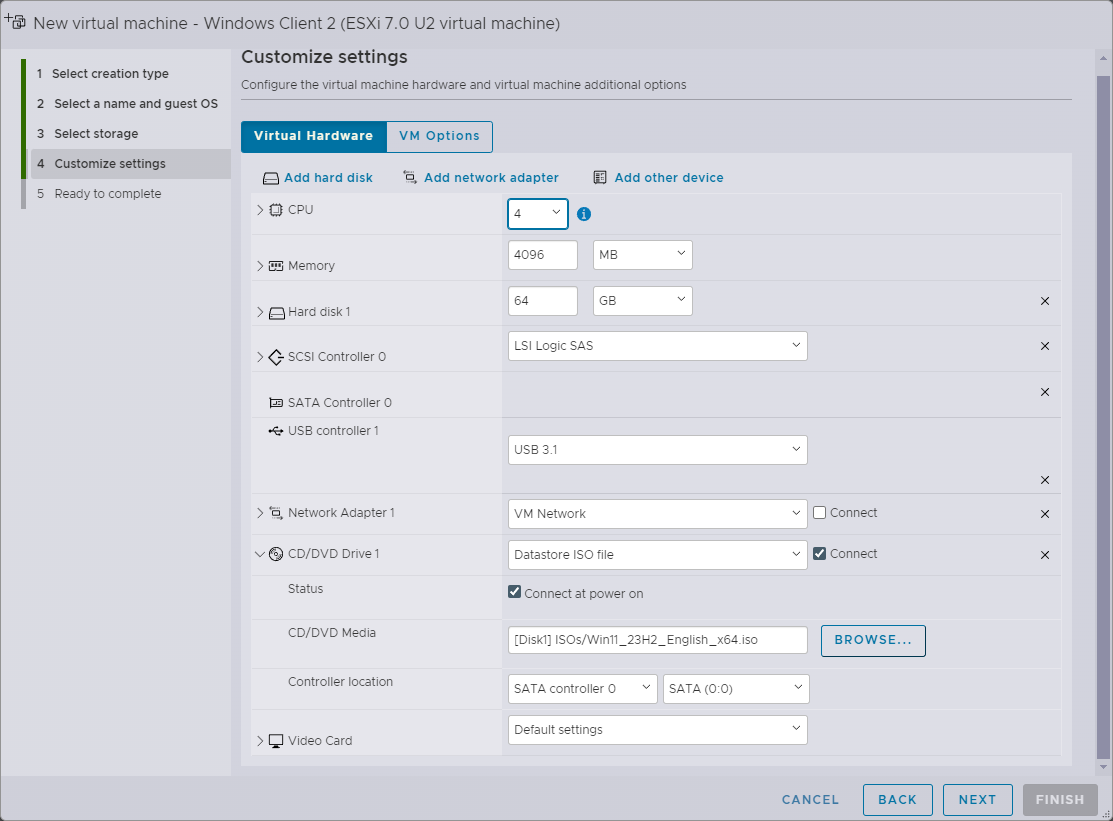
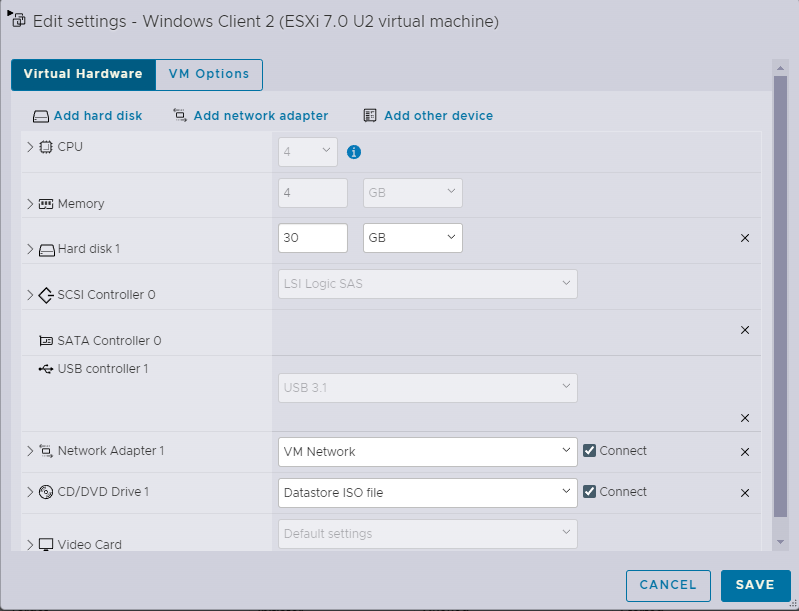
Next select the storage you want to install the VM on and proceed to Customize settings. Within customize settings you need to be sure to provide at least 2 CPU cores, 4 GB of memory, and sufficient hard drive space. Microsoft suggests using a minimum of 64GB for Windows 11. If you don’t want your VM to force you to provide a Microsoft account make sure your network is disconnected. For your CD drive select Datastore ISO file and when the dialog appears navigate to your ISO directory and select or upload your Windows 11 disk image.
Your settings should look similar to this depending on your desired specifications.
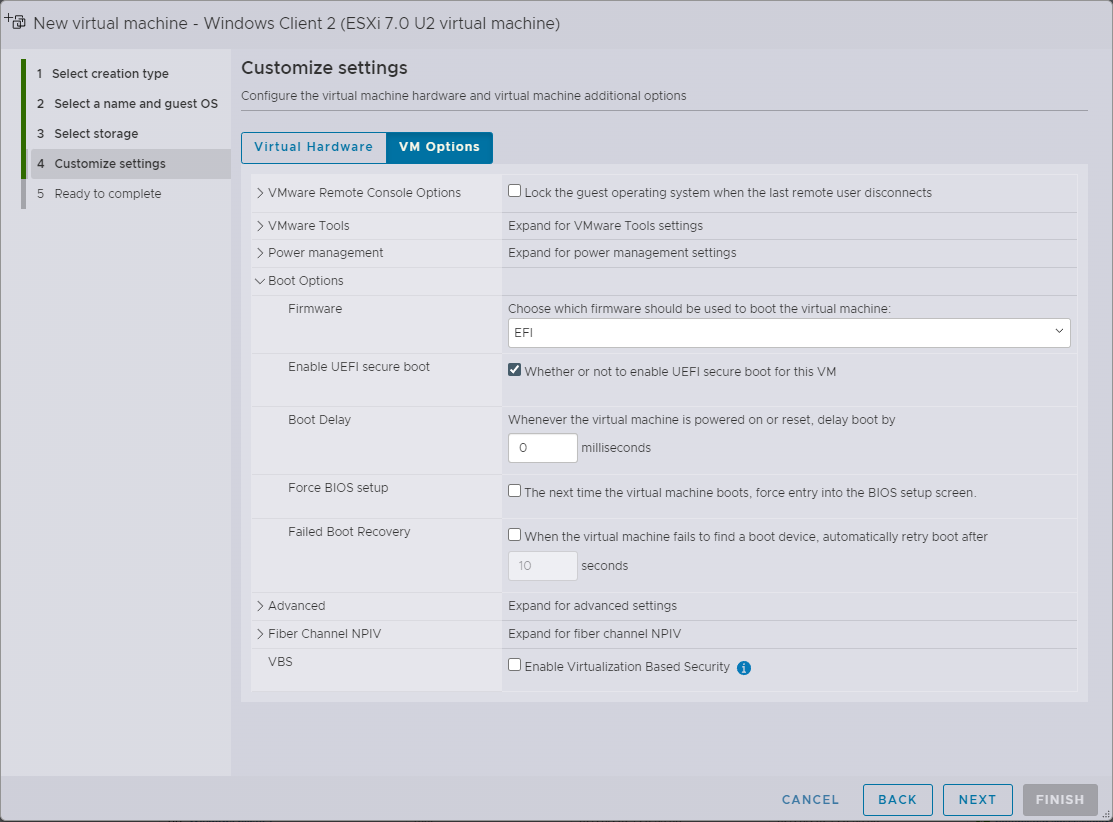
Now click on the VM Options tab along the top. Expand Boot Options and ensure that Firmware is set to EFI and the Enable UEFI secure boot option is checked.
Click next and Finish.
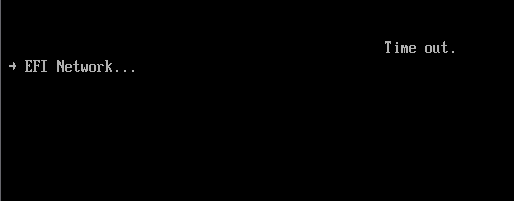
Launch your newly created VM! But wait! I got this error message(maybe).
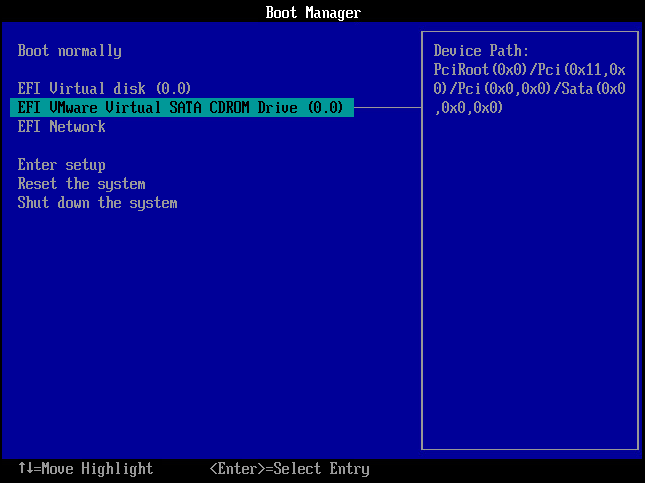
Don’t worry. If you received this error just be patient and within a minute or two you will be presented with the Boot Manager.
Use your arrow keys to highlight the EFI VMware Virtual SATA CDROM Drive and press enter. Then press any key to boot from CD drive. If you time out and are returned to the Boot Menu just select the CD drive again and be quicker with pressing any key when prompted.
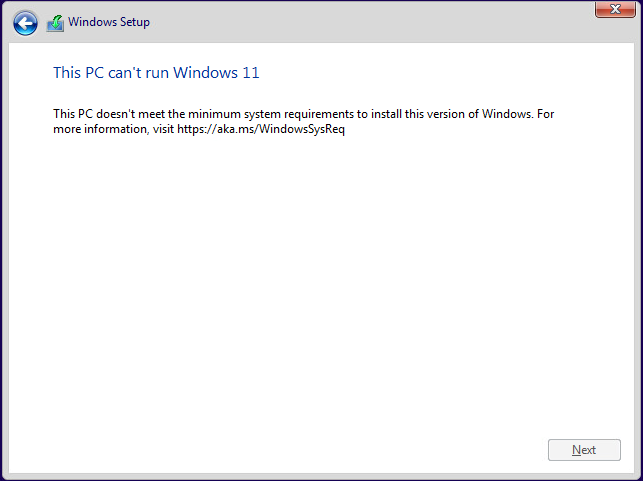
Now once Windows Setup loads select your Language, Time/Currency and keyboard layout then click next. On the next page click Install Now. You will be brought to a screen asking for your Activation Key. If you click I don’t have a product key you will be prompted to select the version of Windows 11 you would like to install. After selecting your version and clicking next you are presented with another error. Your PC doesn’t meet the minimum system requirements to install this version of Windows! This is because you are missing TPM.
With Windows 11 there also came some new system requirements. Mainly for the purpose of this writing that requirement is a Trusted Platform Module or TPM. TPM is a hardware-based security feature developed by Microsoft that is integrated into modern computer systems. TPM serves as a dedicated microcontroller embedded on the computer's motherboard, providing a secure environment for storing cryptographic keys, passwords, and other sensitive data. Microsoft utilizes TPM to enhance the security of its operating systems, such as Windows 11. TPM works by safeguarding sensitive information from unauthorized access, securing the boot process, and supporting features like BitLocker encryption. This hardware-based security solution plays a crucial role in protecting the integrity and confidentiality of user data on Windows devices, contributing to a more robust and trustworthy computing environment.
To get circumnavigate this requirement we need to go back to the beginning of the installer. Using the red X in the top right of the windows close the installer and click Yes when asked of you really want to quit. Don’t worry your not a quitter, just taking a different path.
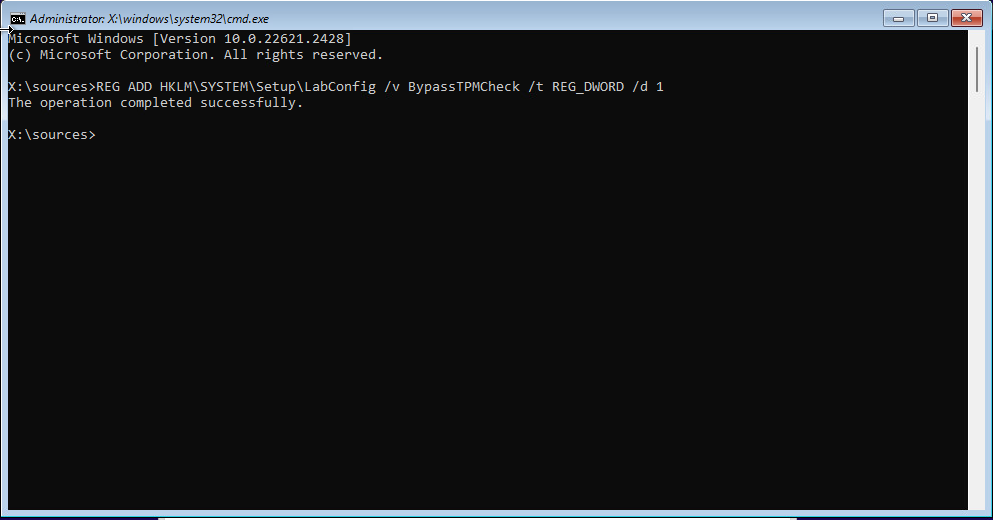
Click Install now again and when the Activate Windows screen appears press shift + F10 on you keyboard to bring up the command prompt. We are going to use the command prompt to add a registry key that will force setup to skip over the TPM requirement. In the command prompt type the following line and hit enter:
REG ADD HKLM\SYSTEM\Setup\LabConfig /v BypassTPMCheck /t REG_DWORD /d 1Make sure the operation was successful. You can now close the command prompt and continue with the install by clicking I don’t have a product key.
Select the version of Windows 11 you wish to install and click next. You should then be presented with the Applicable notices and license terms. Check the accept check box and click next.
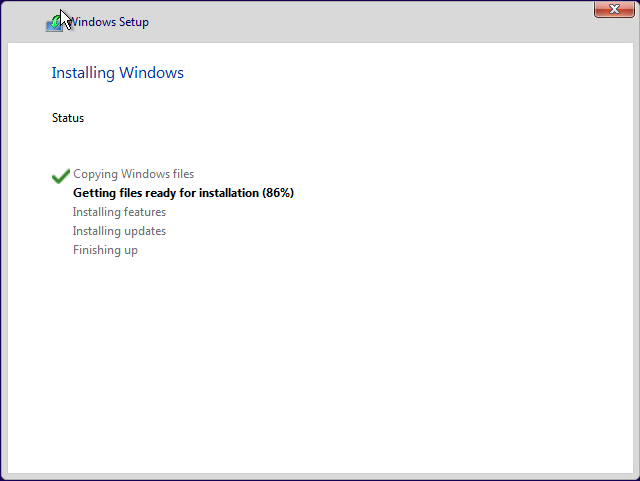
Since you are installing a new version of Windows 11 and not upgrading from a Windows 10 system click Custom install. Select your storage device(should already be highlighted) and click next. The installer will now build your new Windows 11 Operating System!
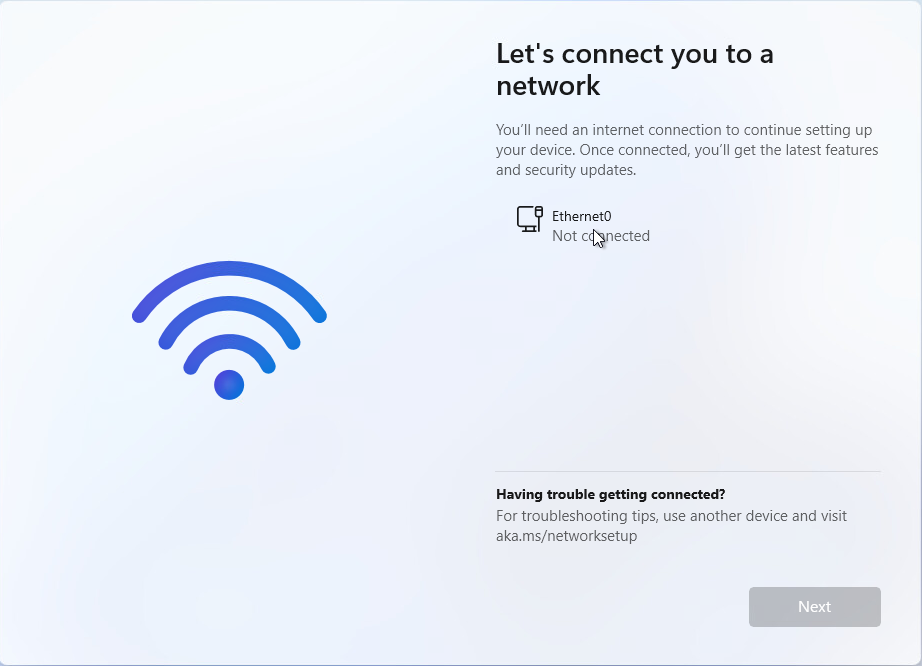
Once the installer finishes your system will reboot and you will be prompted to select your country and keyboard layout. You will then be asked to connect to a network. In the very beginning we told the network to not connect though! There isn’t and option to continue without network!
OH NO! Its ok though. As my basic training drill sergeant would say “Its ok, we will fix it”.
Press shift + F10 again to bring up the command prompt and Type in the following command:
OOBE\BYPASSNRO
Press enter and your system will again reboot.
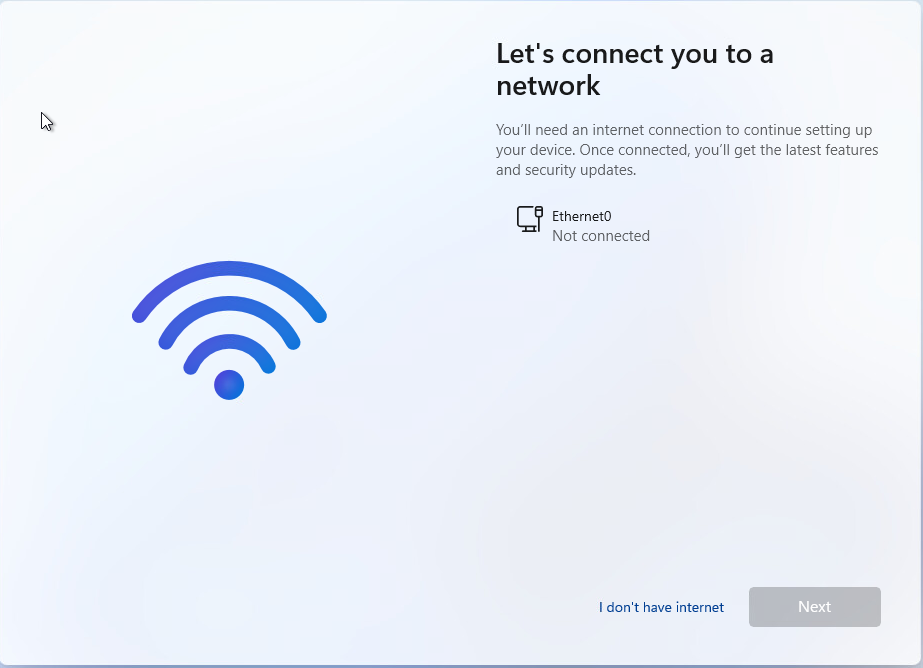
Once your system reboots you will be asked to select your country and keyboard again. When you get to the network screen you will see down in the bottom right there is a link named I don’t have internet.
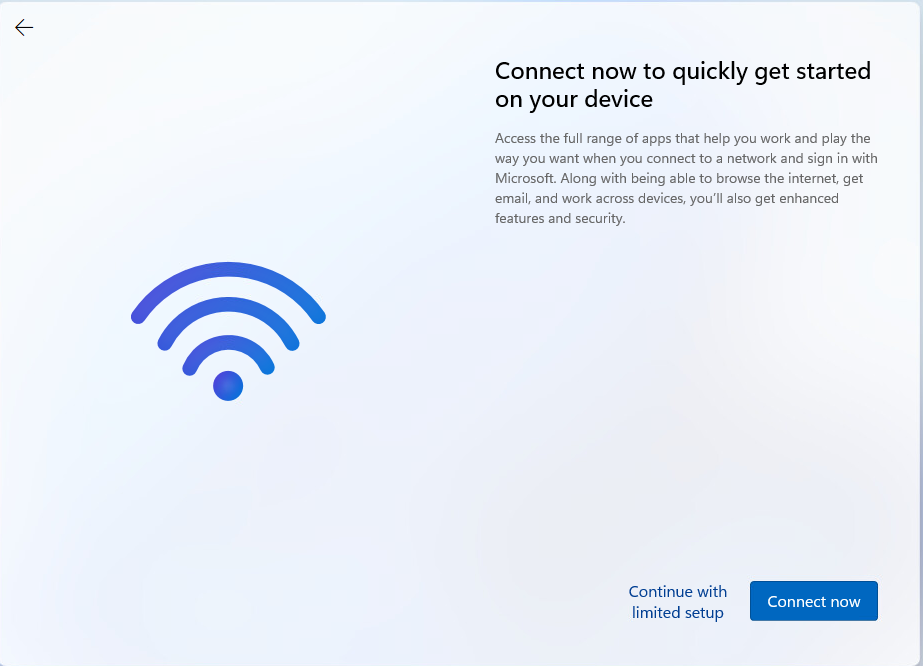
Clicking the I don’t have internet link brings up another page telling you to Connect now to quickly get started on your device.
Click the link Continue with limited setup. You will will now be able to continue through the setup wizard to configure your machine with your user name, password and security questions. That’s it! You now have a Windows 11 VM running on your ESXi server! Only thing left to do is go back into your VM settings on your ESXi Host Client and click the connect checkbox next to your network interface.
Your Windows 11 machine will now have network connectivity!
Enjoy and thank you!
Nile
